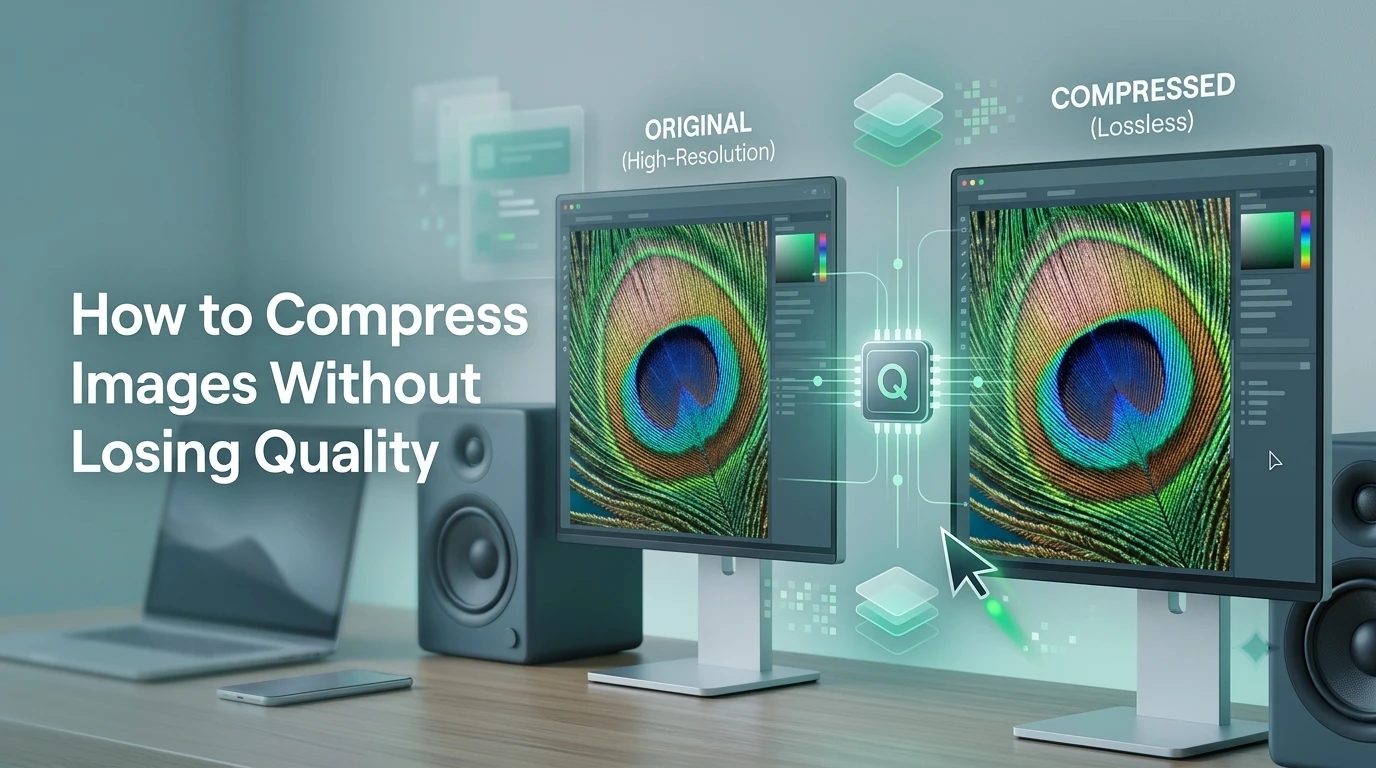
Compressing an image without noticeably degrading it is less about finding a magic setting and more about understanding a few principles that apply across every tool and format. Once you know what controls quality loss and what doesn't, you can reliably get small files that still look sharp.
What "losing quality" actually means
Every time you save a JPEG — or any lossy format — the encoder discards image data to make the file smaller. Most of what it throws away is detail your eye wouldn't notice anyway: subtle texture variations, near-identical adjacent pixels, color information in shadow areas.
The problem is that this discard is permanent and cumulative. If you take an already-compressed JPEG, edit it, and save it again, you compress the already-degraded result a second time. Do it enough times and you get the blocky, washed-out look that people associate with "low quality."
Two principles follow from this:
- Always start from the best source you have. Original camera files, PNGs exported from design tools, screenshots — keep these and compress from them each time rather than re-compressing a previous export.
- One compression pass is almost always fine. A single pass from a high-quality source at a reasonable setting is visually indistinguishable from the original at a fraction of the size.
Choose the right format first
Before adjusting any quality slider, pick the right format. The format has more impact on final file size than any other single decision.
WebP is the right choice for almost every web use case. It produces smaller files than JPEG at the same visual quality and — unlike JPEG — supports transparency. All modern browsers support it. If you are putting images on a website, use WebP.
JPEG is fine for photos going to platforms that don't accept WebP: email clients, some social media uploads, legacy CMS systems. It compresses photographs efficiently but destroys transparency.
PNG is lossless. Use it when you need pixel-perfect accuracy — a logo, a UI screenshot, a graphic with sharp text — or when transparency is required and WebP isn't an option. PNG files are much larger than WebP or JPEG for photographs.
A quick decision guide:
| Use case | Format |
|---|---|
| Photo for a website | WebP |
| Photo for email or legacy platform | JPEG |
| Logo, icon, or graphic with sharp edges | WebP or PNG |
| Image with transparency | WebP (first), then PNG |
If you already have a JPEG that you want to shrink further, converting it to WebP at the same or slightly lower quality setting typically produces a noticeably smaller file at equivalent visual quality.
How quality settings actually work
Most compression tools expose a quality setting from 0 to 100. This does not map linearly to visual quality — there is a middle range where quality is virtually indistinguishable but file size changes substantially.
For JPEG and WebP:
- 80–90 looks identical to the original for most photos. Use this for anything where appearance matters: product images, hero photos, portfolio work.
- 60–79 produces noticeably smaller files and still looks good for web thumbnails, social media previews, email, and anywhere the image is not viewed at full size.
- Below 60 introduces visible artifacts. Use this only for tiny previews or low-stakes placeholder images.
The practical approach: start at 80 and check the preview. If the file is still too large, step down to 70 and look again. Stop as soon as you can no longer see a difference.
Step by step: compressing images with AI Genzox
The Image Compressor handles up to 50 files with shared format and quality settings, then shows each completed result and its actual size.
- Upload your file. Drag it onto the tool or click to browse. JPEG, PNG, and WebP are all accepted.
- Pick a preset. Balanced is a useful starting point. Best quality is gentler; Smaller file and Maximum compression trade more detail for size.
- Review each completed result. Look at edges, text, gradients, and high-contrast areas before replacing an original.
- Download. The processed file saves directly to your device. Your original is untouched.
If you also want to switch formats — for example, converting an existing JPEG to WebP before compressing — run the Image Converter first, then bring the WebP result into the compressor.
New to AI Genzox? The getting started guide covers every tool on the platform in one place.
Reviewing every result
The single most useful habit is opening and checking the completed output. A small thumbnail can hide blockiness, edge halos, banding, or lost texture.
What to look at in the result:
- Text and sharp edges. Compression artifacts show up here first as halos or slight blurring.
- Solid color areas. Banding and uneven patches appear in areas that should be a uniform color.
- Fine texture. Hair, fabric, and foliage lose detail early in lossy compression.
If any of these look wrong at your chosen setting, step the quality up by 5–10 points and check again.
Common compression mistakes
Re-compressing an existing JPEG. Every lossy-to-lossy pass degrades the file further. Always compress once from the best original source.
Using PNG for photographs. PNG is lossless, so a photograph saved as PNG is significantly larger than the same image as WebP or JPEG. Convert to WebP before publishing to the web.
Ignoring the format and only adjusting quality. A format change can alter file size substantially, but the result depends on the source and encoder. Compare the completed files instead of relying on a fixed savings percentage.
Skipping the preview. Download-and-check is slower and wastes time on avoidable quality issues. The preview is there for a reason.
Expecting zero overhead on all images. Some images — screenshots with flat color and text — compress extremely well. Others — photos already processed by a camera — may only shrink 10–20% before quality loss is visible. That is normal and not a failure of the tool.
A practical checklist
Before compressing any image, run through these four checks:
- Am I starting from the best available source file?
- Is WebP the right format, or does the destination require JPEG or PNG?
- Have I checked the preview at full resolution?
- Am I compressing once, not re-compressing a previous export?
If all four are yes, the result will be as small as it can be without visible quality loss.